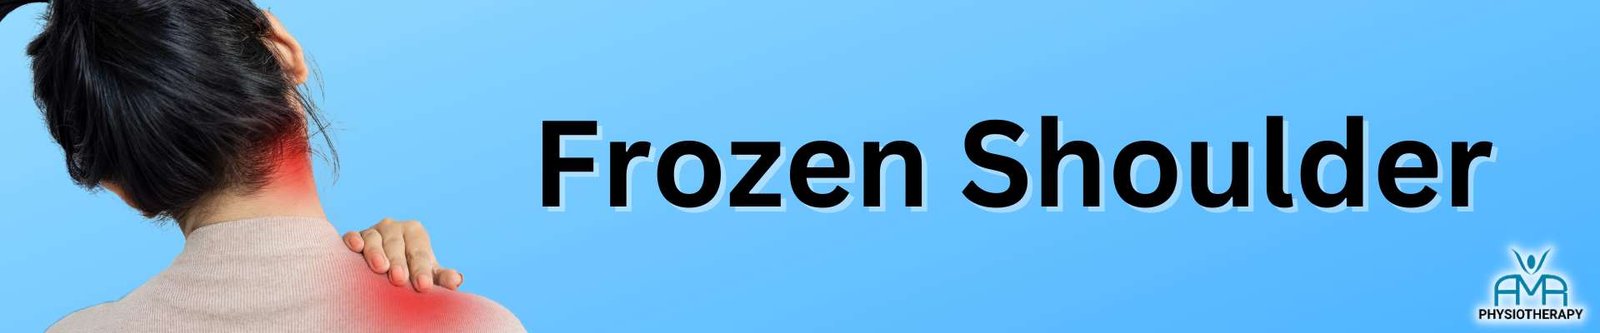
Frozen Shoulder
Unlock Relief: A Comprehensive Guide to Frozen Shoulder Exercises
Understanding Frozen Shoulder: Causes and Demographics
A frozen shoulder is an extremely painful condition affecting the mobility of the shoulder. Sometimes it can develop following trauma but not always, it can just gradually come on and get worse. It’ll generally happen between 40 and 60 years old and be more common in women. The worst part of a frozen shoulder is how long it can last. Typically, it lasts around 18 months to 2 years. If you’ve got thyroid issues or are diabetic though you’re more likely to get it. It is also more common to last longer. In this blog, we have a comprehensive Guide to Frozen Shoulder Exercises.
Frozen shoulder is typically characterized by restriction globally to the shoulder in all directions. Therefore, a lot of the exercises will focus on mobility work to try and improve this. Due to the length of time it lasts it’s also really important to work on strengthening exercises. This gets missed from rehab programs. However, you can imagine if you are not using the arm properly for 18 months or more it’ll get very weak. Therefore, strength is vital for full recovery.
We have listed exercises you can do for a frozen shoulder in this blog and also you can find a video at the bottom for further information.
Mobility Exercises for Frozen Shoulder
Starting with mobility work. For this, you’ll need a stick, a broom handle, or whatever can work with.
Exercise #1: Overhead Mobility with a Stick
For this, you want to be able to lay down and hold a stick with both hands. While keeping your arms straight you’re going to try and move the stick as far overhead as possible. Then, using the non-affected arm to help the range of the affected one. For any of these exercises, it’s generally okay to feel some discomfort. However, we would advise you to draw the line at a grimace. If you’re going as far as it’s making you grimace then just back off a little so it’s more tolerable. You’ll likely find it very frustrating with exercises that do not get lots of increase in range quickly. That’s very normal! A lot of these help with keeping the range you do have and stopping it from getting worse.
Exercise #2: External Rotation for Improved Range
This can be done in either laying or standing. With elbows close to the side and bent at 90 degrees you’re working to externally rotate the shoulder. Use the non-affected side to assist in pushing the affected side.
Exercise #3: Abduction Assistance with a Stick
Again using the stick. This time in standing keeping the affected arm straight. You’re going to move into abduction using the stick to gain assistance from the other side. This is the movement to the side of the body.
Exercise #4: Enhancing Hand Range Behind the Back
Depending on the severity and range you have there are slight adjustments you can make to this one. This exercise is to help increase the range of the hand up behind the back. So using the stick you’ll use your other hand to help pull the affected arm up the back. For some just getting the hand up towards the back may be too painful, in that case, you can make this easier by having the stick low. Try to pull the hand across to the other side to then gradually build up into the other one. Again back off if grimacing.
Strengthening Exercises for Frozen Shoulder
Moving onto strengthening – you’ll have less range than normal so need to do some adaptations to normal exercises. You also won’t be going into much pain from the frozen shoulder only muscle pain from doing the exercises.
Exercise #5: Resistance Training for External Rotation
This is similar to exercise 2 but you will now use some resistance to build strength. The nicer way to do this when having a frozen shoulder is to lay on the opposite side with the affected side arm resting on the body. Keep elbow bent to 90 degrees. Then using a weight, lift it to whatever range is tolerable, this can be made harder by increasing weights.
Exercise #6: Internal Rotation with Bands or Cables
This is slightly harder to do due to the lack of external rotation range. Generally, it is easier to do with a band or cable machine. Again elbow at 90, but this time bringing the hand in towards the body. Make sure the resistance is in the opposite plane. You won’t get much benefit if just holding a weight in standing doing it, as the resistance is in the wrong plane. If you don’t have bands or cables available, you can just use your other hand or a wall for the resistance.
Exercise #7: Scaption Plane Raises for Strength
Using a weight for this one. This time keep the straight raising it up in a scaption plane. This is in between a front raise and a lateral raise. Progress by changing the weight
Stages of Frozen Shoulder and Interventions
Frozen shoulder progresses through stages, starting with stiffness and pain for approximately 9 months. Followed by another 9 months of settled pain and remaining stiffness, before gradually easing. Corticosteroid injections may help during the painful stage. However, potential side effects should be discussed with a healthcare provider. It can help reduce the pain felt, and in some, help reduce the stiffness as well. It’s not a guarantee that it’ll help everyone and with going more invasive. You should have had an x-ray of the shoulder prior to an injection to make sure there is nothing else restricting the movement.
| If you are struggling with a frozen shoulder and need a consultation, you could find us in Nottingham. You could give us a call on 0115 901 7867 or use our online booking system. |